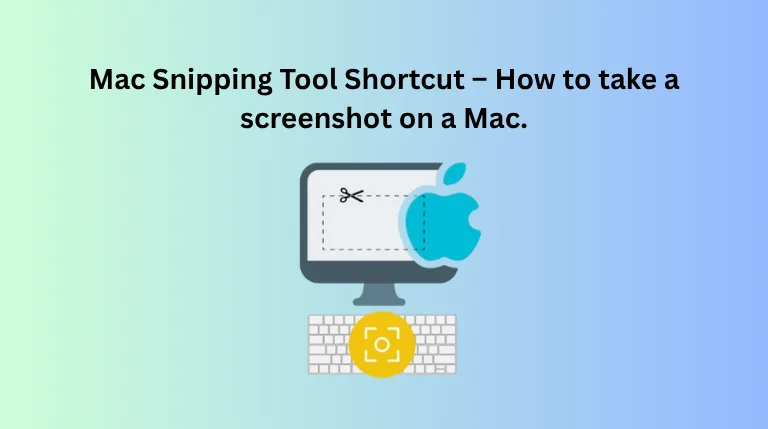
Mac Snipping Tool Shortcut – How to take a Screenshot on a Mac.
Learn the Mac Snipping Tool shortcut to capture full-screen, window, and selected-area screenshots on macOS. Follow this simple step-by-step guide for beginners.
Mac Snipping Tool Shortcut
Taking screenshots is a now-seemingly integral function of computing. From saving important information to creating tutorials, reporting issues, or sharing something with friends, screenshots enable communication to be much easier. When many Windows users make the switch, they will look for the Mac Snipping Tool shortcut since they think there will be the same Snipping Tool on macOS. Apple, however, has integrated a built-in screenshot tool that’s as quick and dependable as it is packed with handy features. MacOS does not need a special tool for taking screenshots, unlike Windows.
All Macs feature advanced screen capture capabilities, allowing you to capture the screen, a selected region of the screen, or a selected window with only a handful of keyboard shortcuts. Not only that, you can even record your screen without having to install any third-party software. These are the shortcuts for capturing screenshots, and once you know them, it will be easy and fast to take a screenshot! Here you’ll find out about the Mac Snipping Tool shortcut, how it works, why it is helpful, and which shortcuts you should know for daily use.
What is the shortcut for the Mac Snipping Tool?
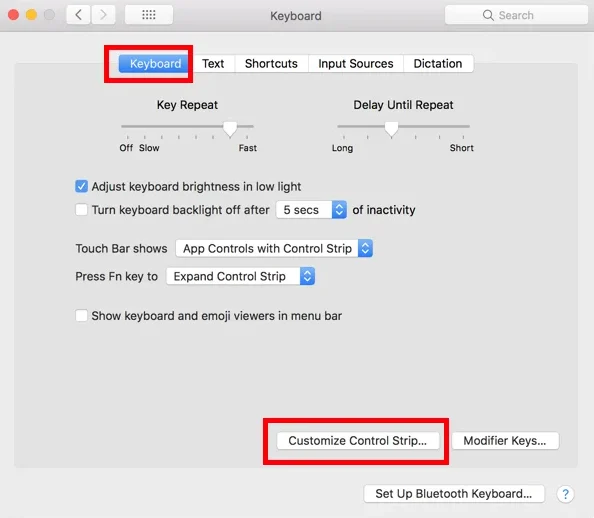
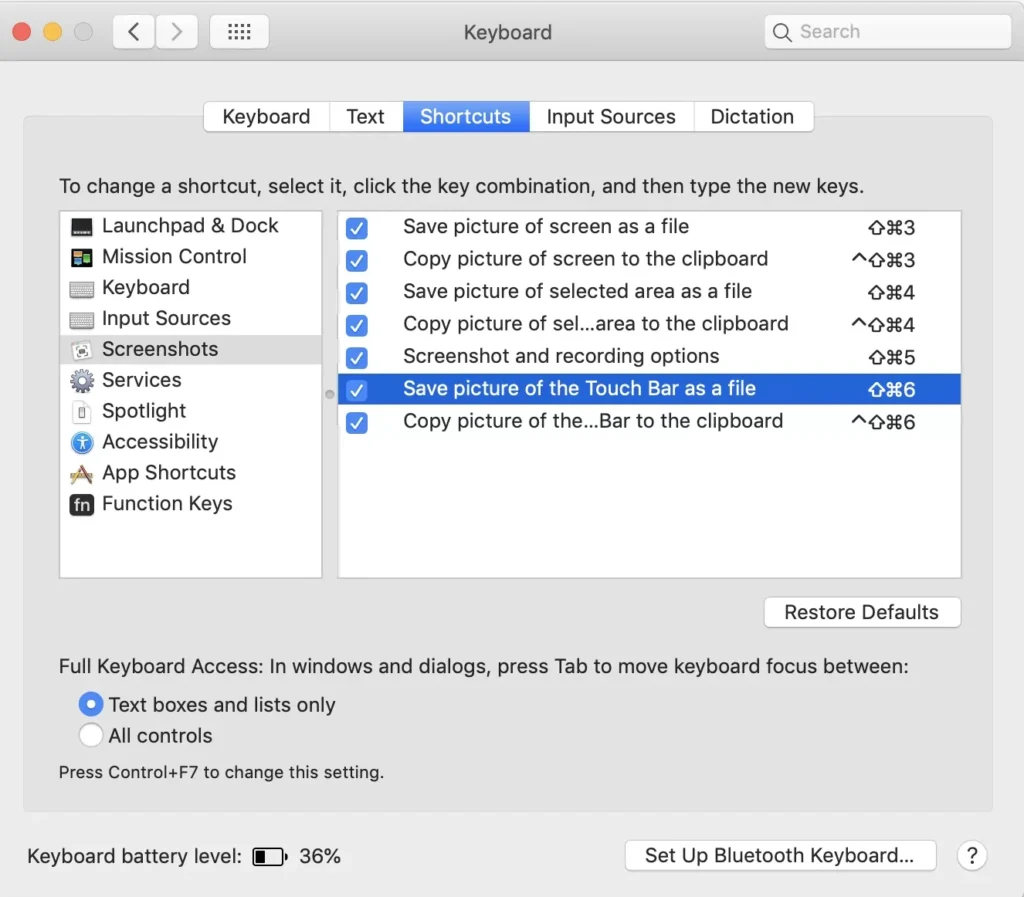
Mac Snipping Tool shortcuts are keyboard shortcuts that are integrated into macOS to take screenshots. While there is no such thing as an Apple “Snipping Tool,” the company has a screenshot feature that accomplishes the same and has a bit more flexibility. The best shortcut is Command (⌘) + Shift + 5. The keys bring up the Screenshot Toolbar, allowing you to take a screenshot of the entire screen, a window you’ve selected, a portion of the screen, or even record your display. Additionally, there are some changes to the screenshot settings and where the files are saved, possible through this toolbar. macOS also has dedicated shortcuts for taking a quick screenshot without opening the shortcuts toolbar. These are convenient features that are ubiquitous and usable on most current macOS editions.
Why do you use the Mac Screenshot Shortcuts?
The Mac Snipping Tool consists of the following features:
You will find the Mac screenshot tool in macOS; it doesn’t require any additional software to be installed. Easy to use and is capable of taking screenshots in seconds. They are intuitive to use and allow you to take screenshots when you are a student, an office worker, or a content creator. There are a few handy features:
How to Take Screenshots on a Mac
Where Are Screenshots Saved?
Mac will automatically file all screenshots on the Desktop – that’s where they will be easy to find by default. If you want to save them somewhere else, select the Screenshot Toolbar with Command (⌘) + Shift + 5, click Options, and select a new location to save to. It is great for those who need to take screenshots frequently and want to have them nicely organized.
How to use Mac Screenshot shortcuts
Here are some useful tips. With a bit of practice, it will be easier to use the Mac Snipping Tool shortcut. Here are a few easy tips you can follow to save time.
Common Troubleshooting and Solutions
|
Issue |
Solution |
|---|---|
|
Unable to find the screenshot |
By default, macOS saves screenshots to the Desktop. If you changed the save location, check the selected folder instead. |
|
The screenshot looks blurry |
Capture the screenshot again and ensure you are selecting the correct area of the screen. |
|
Not enough storage |
Free up space by deleting old screenshots or moving them to another folder or external storage. |
|
Forgot keyboard shortcuts |
Memorize the common screenshot shortcuts for faster access. |
|
Need to capture only part of the screen |
Press Command (⌘) + Shift + 4 to select and capture a specific portion of the screen. |
|
Need more screenshot options |
Press Command (⌘) + Shift + 5 to open the Screenshot toolbar with additional capture and recording options. |
|
Screenshots are difficult to manage |
Create a dedicated folder to organize all your screenshots for easy access. |
|
Keyboard shortcuts not working |
Ensure your keyboard is functioning correctly and that all required keys are working properly. |
Frequently Asked Questions
Conclusion
Mac Snipping Tool shortcut: Easy and convenient screenshot-taking tool for Mac. Simple keyboard shortcuts can be used to capture the full screen, a selected area, or a single window. The downside is that there is no need to install extra software to use the screenshot tool: it comes preloaded with macOS. Once you learn these tips and tricks, taking screenshots will be so easy and fast! The functionalities help you easily capture and share your screen, whether you are working on a project, studying, or saving important information.